ESP8266 Part 2
ACCESS POINT
The goal with this article is to show how to set up your own network with the ESP8266 as an Access Point.
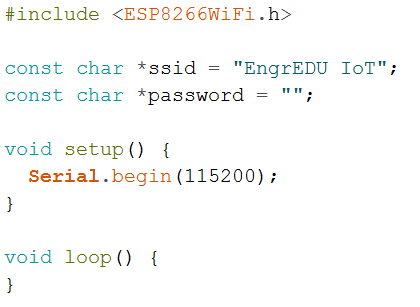
The code is pretty straight forward. Include the ESP8266WiFi library, create two variables, one is related with the name of the network that you want to create and the other variable is the password for your network. You can leave it empty if you don't want to have a password.
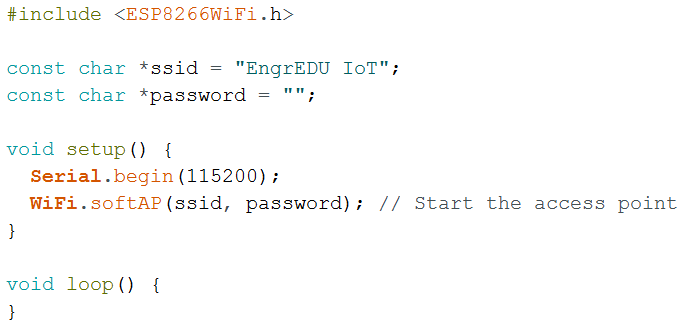
After that, in your setup routine, create the network by calling the WiFi.softAP(ssid, password) construct.
That is it, you are good to go. Deploy the code in your ESP8266 and if you don't know how to program the board, follow Part 1a (to use the Arduino IDE) or Part 1b (to use the serial-USB interface) to get more directions.
To see if it works, open the Wi-Fi settings on your computer, look for a network called "EngrEDU IoT", leave the password empty, and connect to it. Then open a terminal, and ping to 192.168.4.1 (this is the default IP address of our ESP AP). You'll see that the ESP responds to your pings.
Part 3 will go over on how to set up a UDP client on the ESP8266 side and transmit data to a UDP server on your computer.
GitHub Repository
- ESP8266 Code (Link)