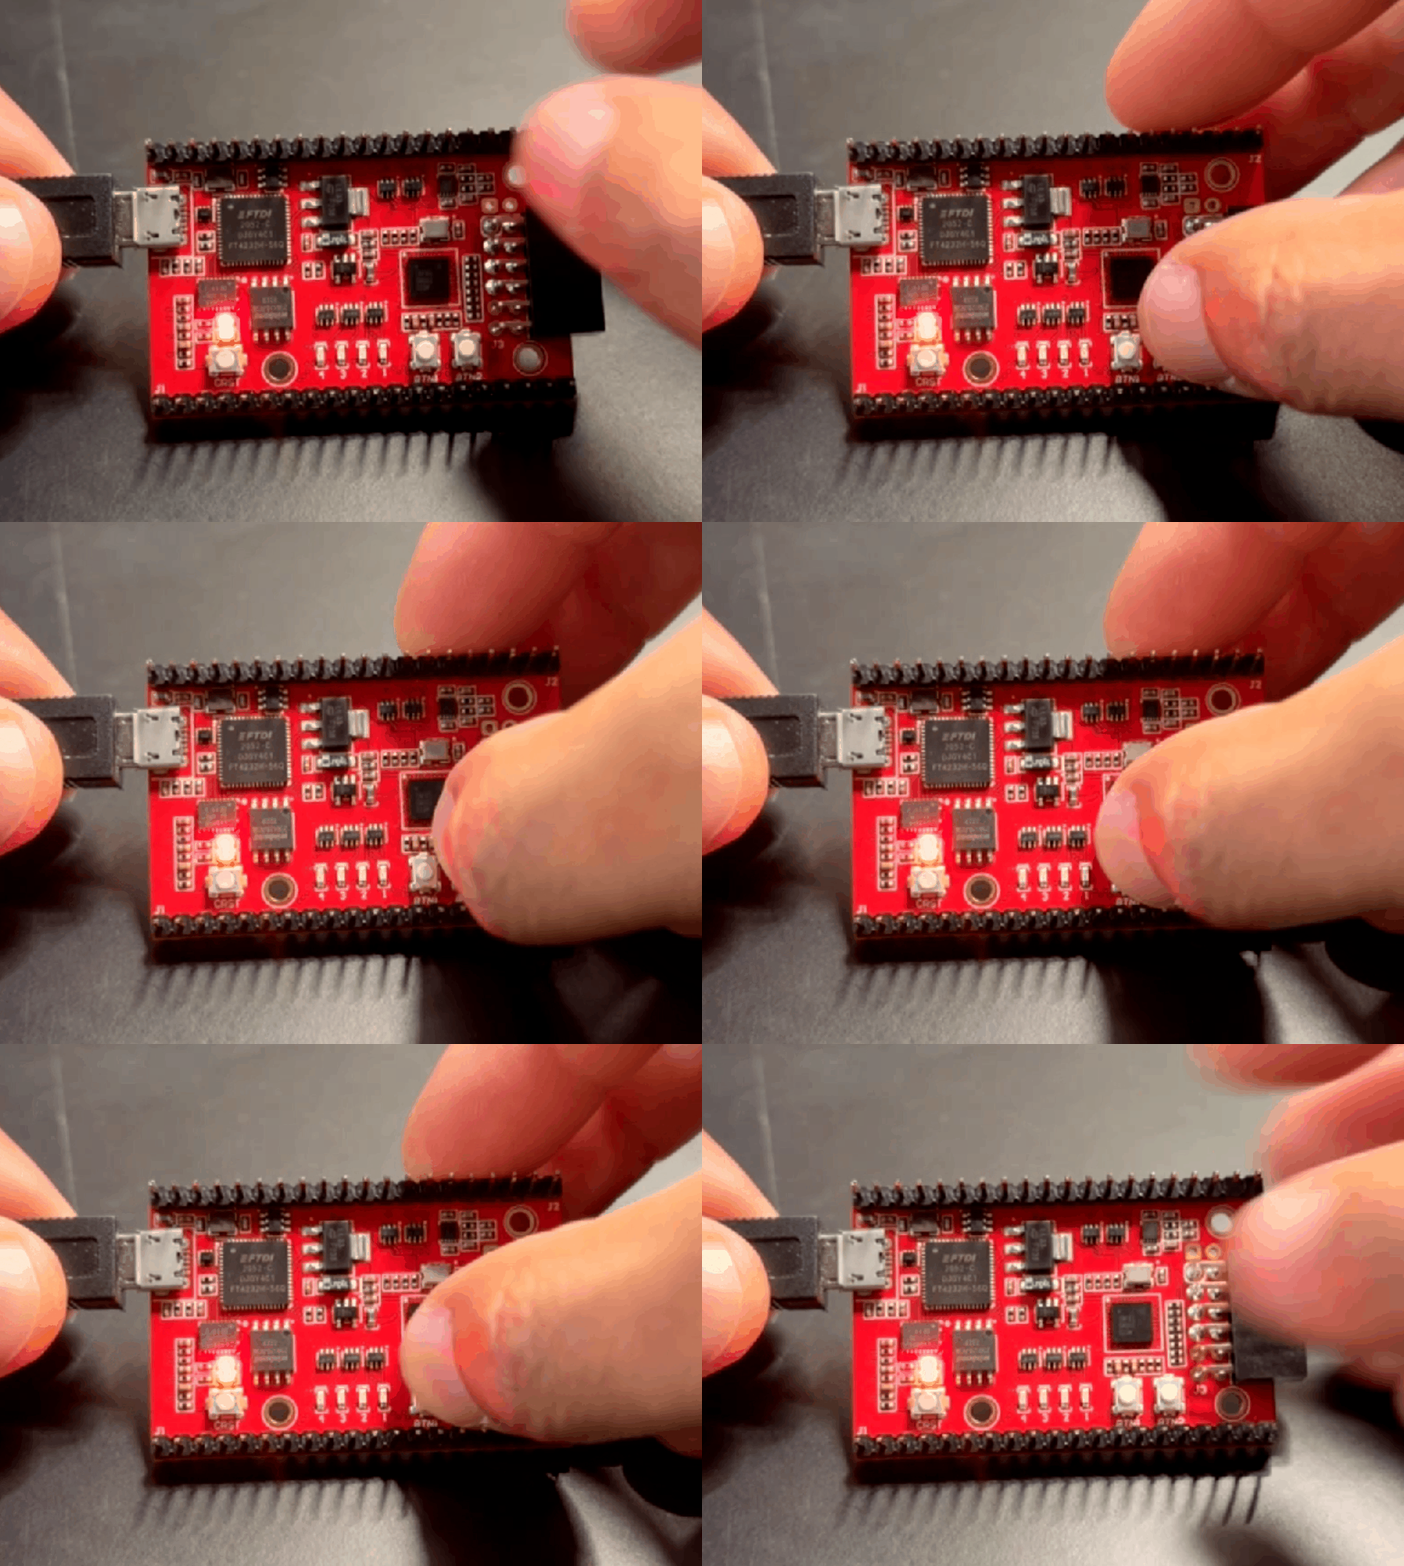
Toggle LED
Note
To install the Xyloni USB drivers and EFINIX IDE follow the guidelines under this GitHub repository
- Open EFINIX IDE.
Create a Project
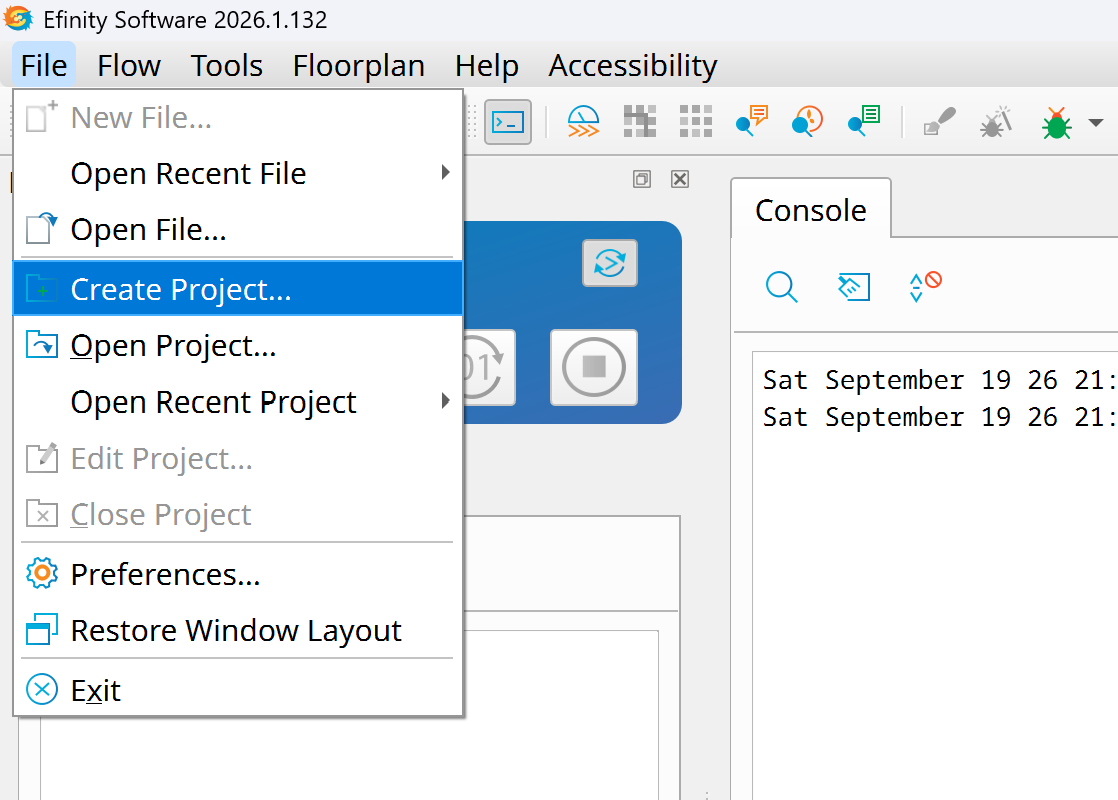
- File-->Create Project...
- Set the project name, path and choose the model of your FPGA: Trion T8F81 C2
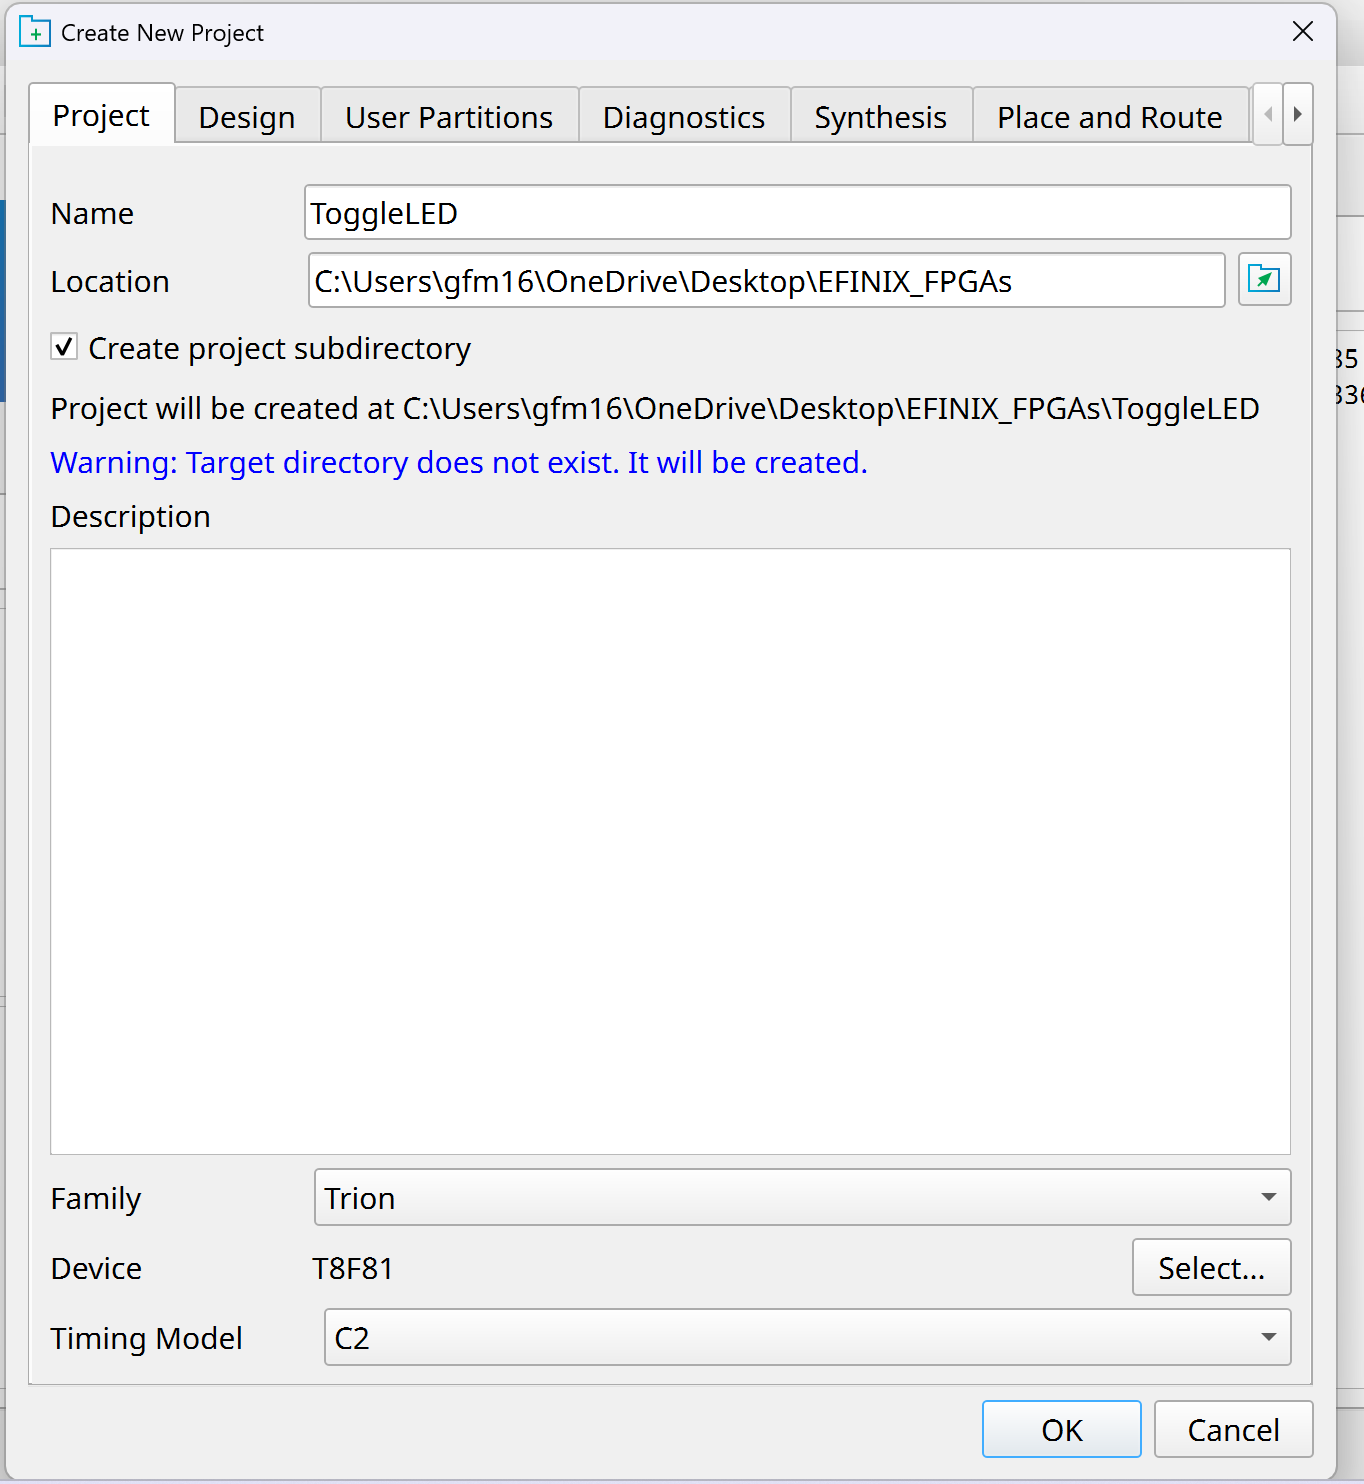
- Press Ok and finish.
Create the Top Level Module
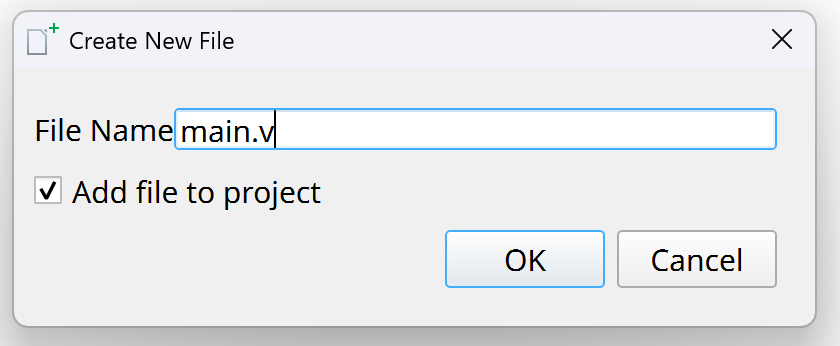
- Create a new Verilog file
- File --> New File...
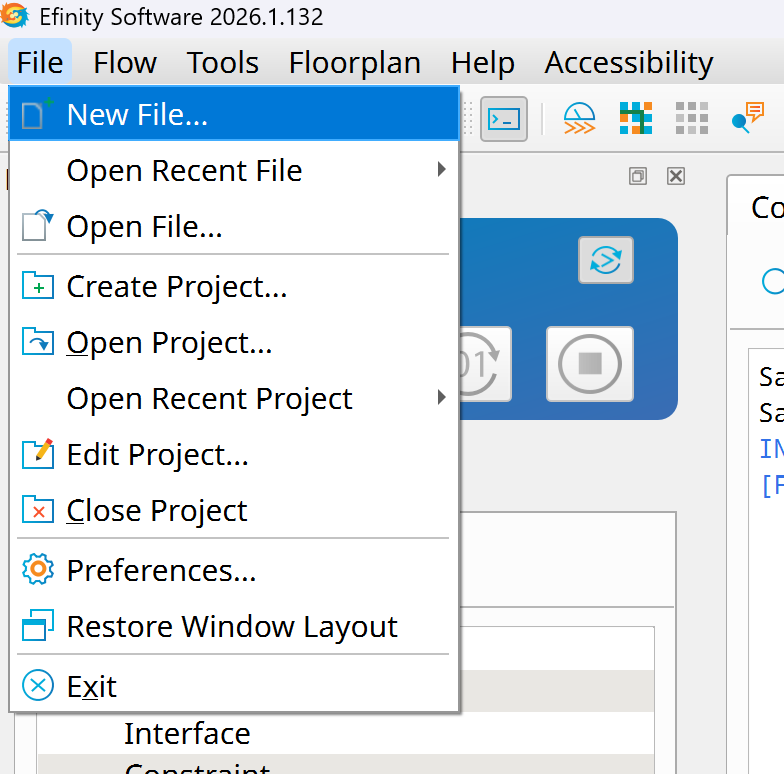
- I like to call the top level module "main.v"
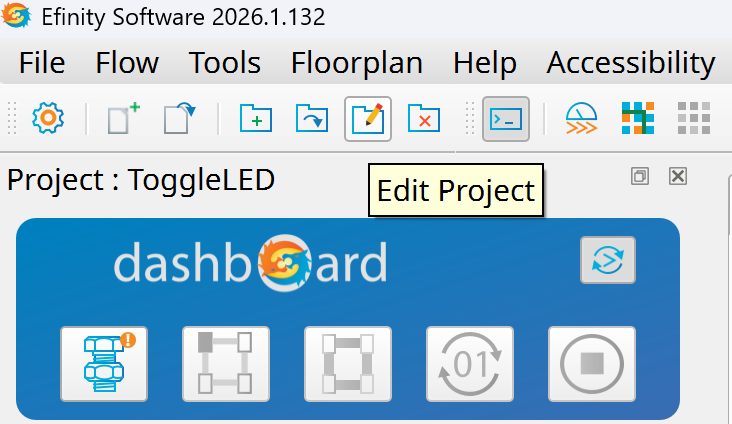
- Go to Edit Project
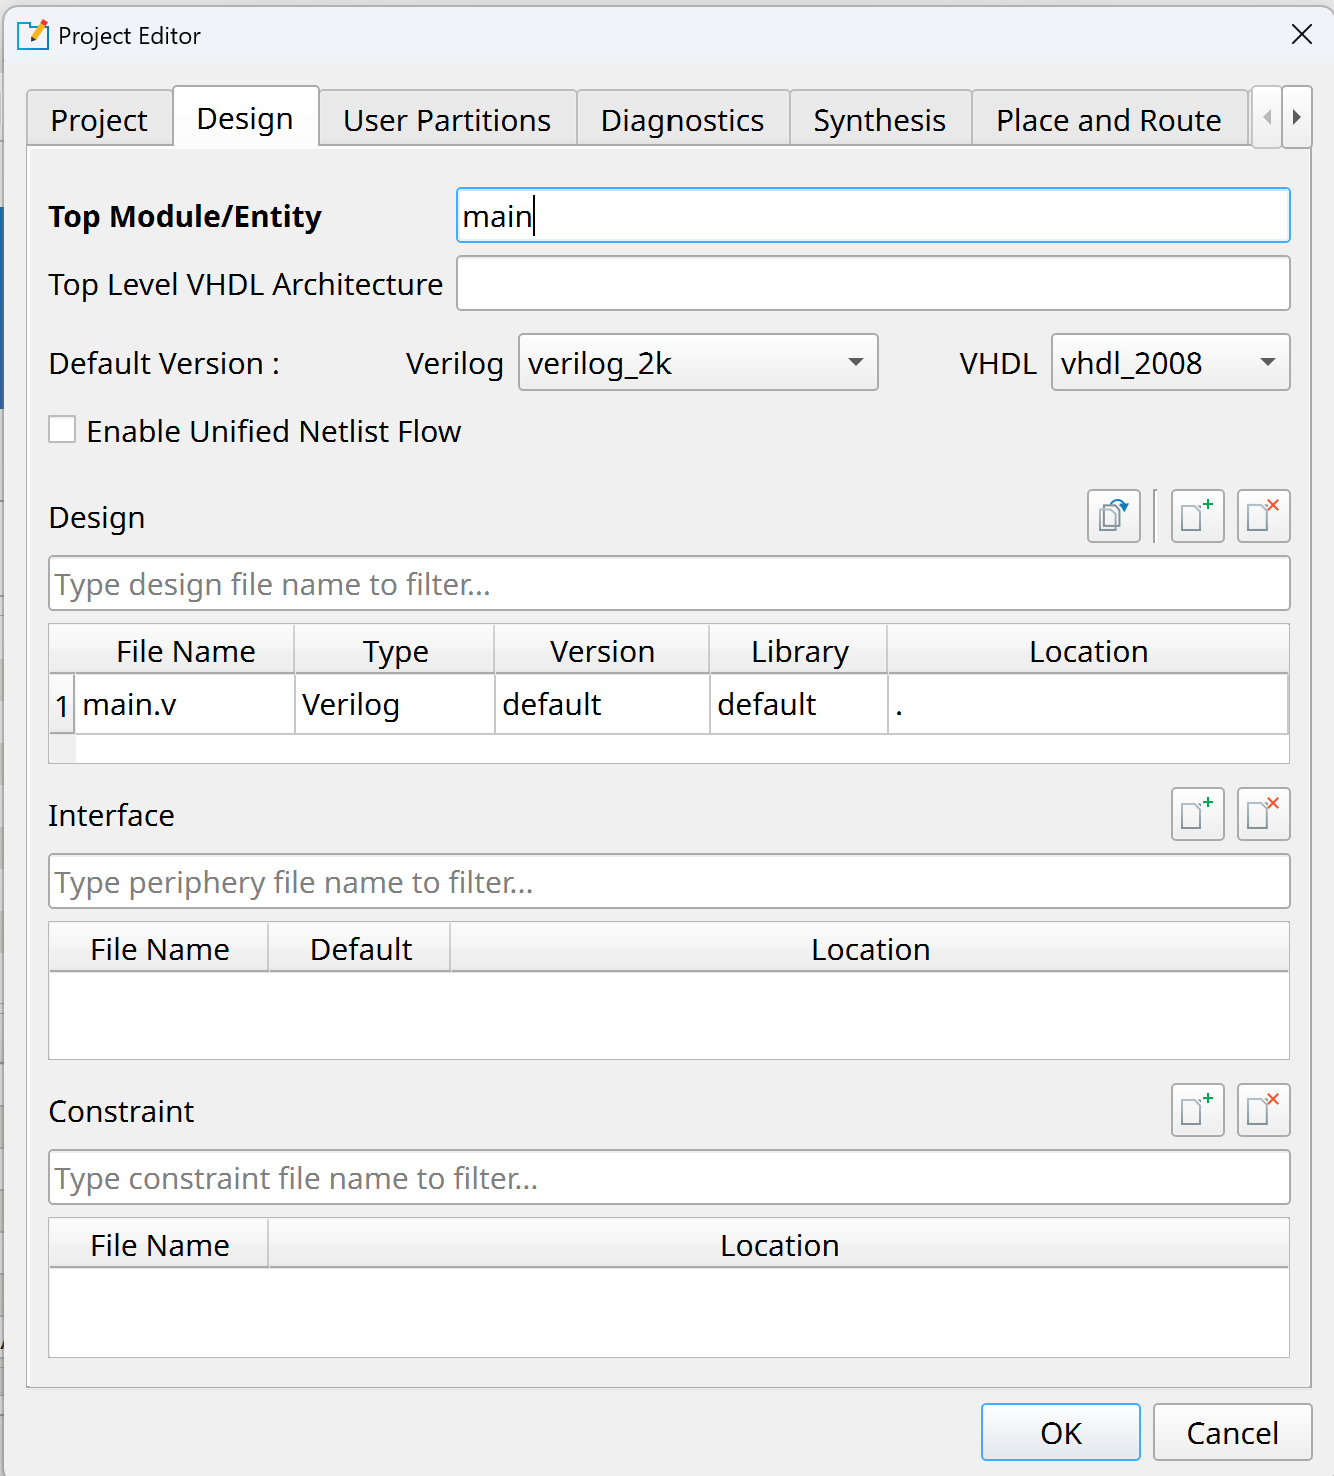
- Select the Design tab and change the Top Module/Entity to "main"
-
Press the Ok button
-
Write the code below under the main.v to toggle the onboard LEDs
module main(
    input clk,
    input [1:0] BUTTON,
    output [3:0] LEDY
);

    assign LEDY[0] = ~BUTTON[1];
    assign LEDY[3] = ~BUTTON[0];

endmodule
Floor Planner
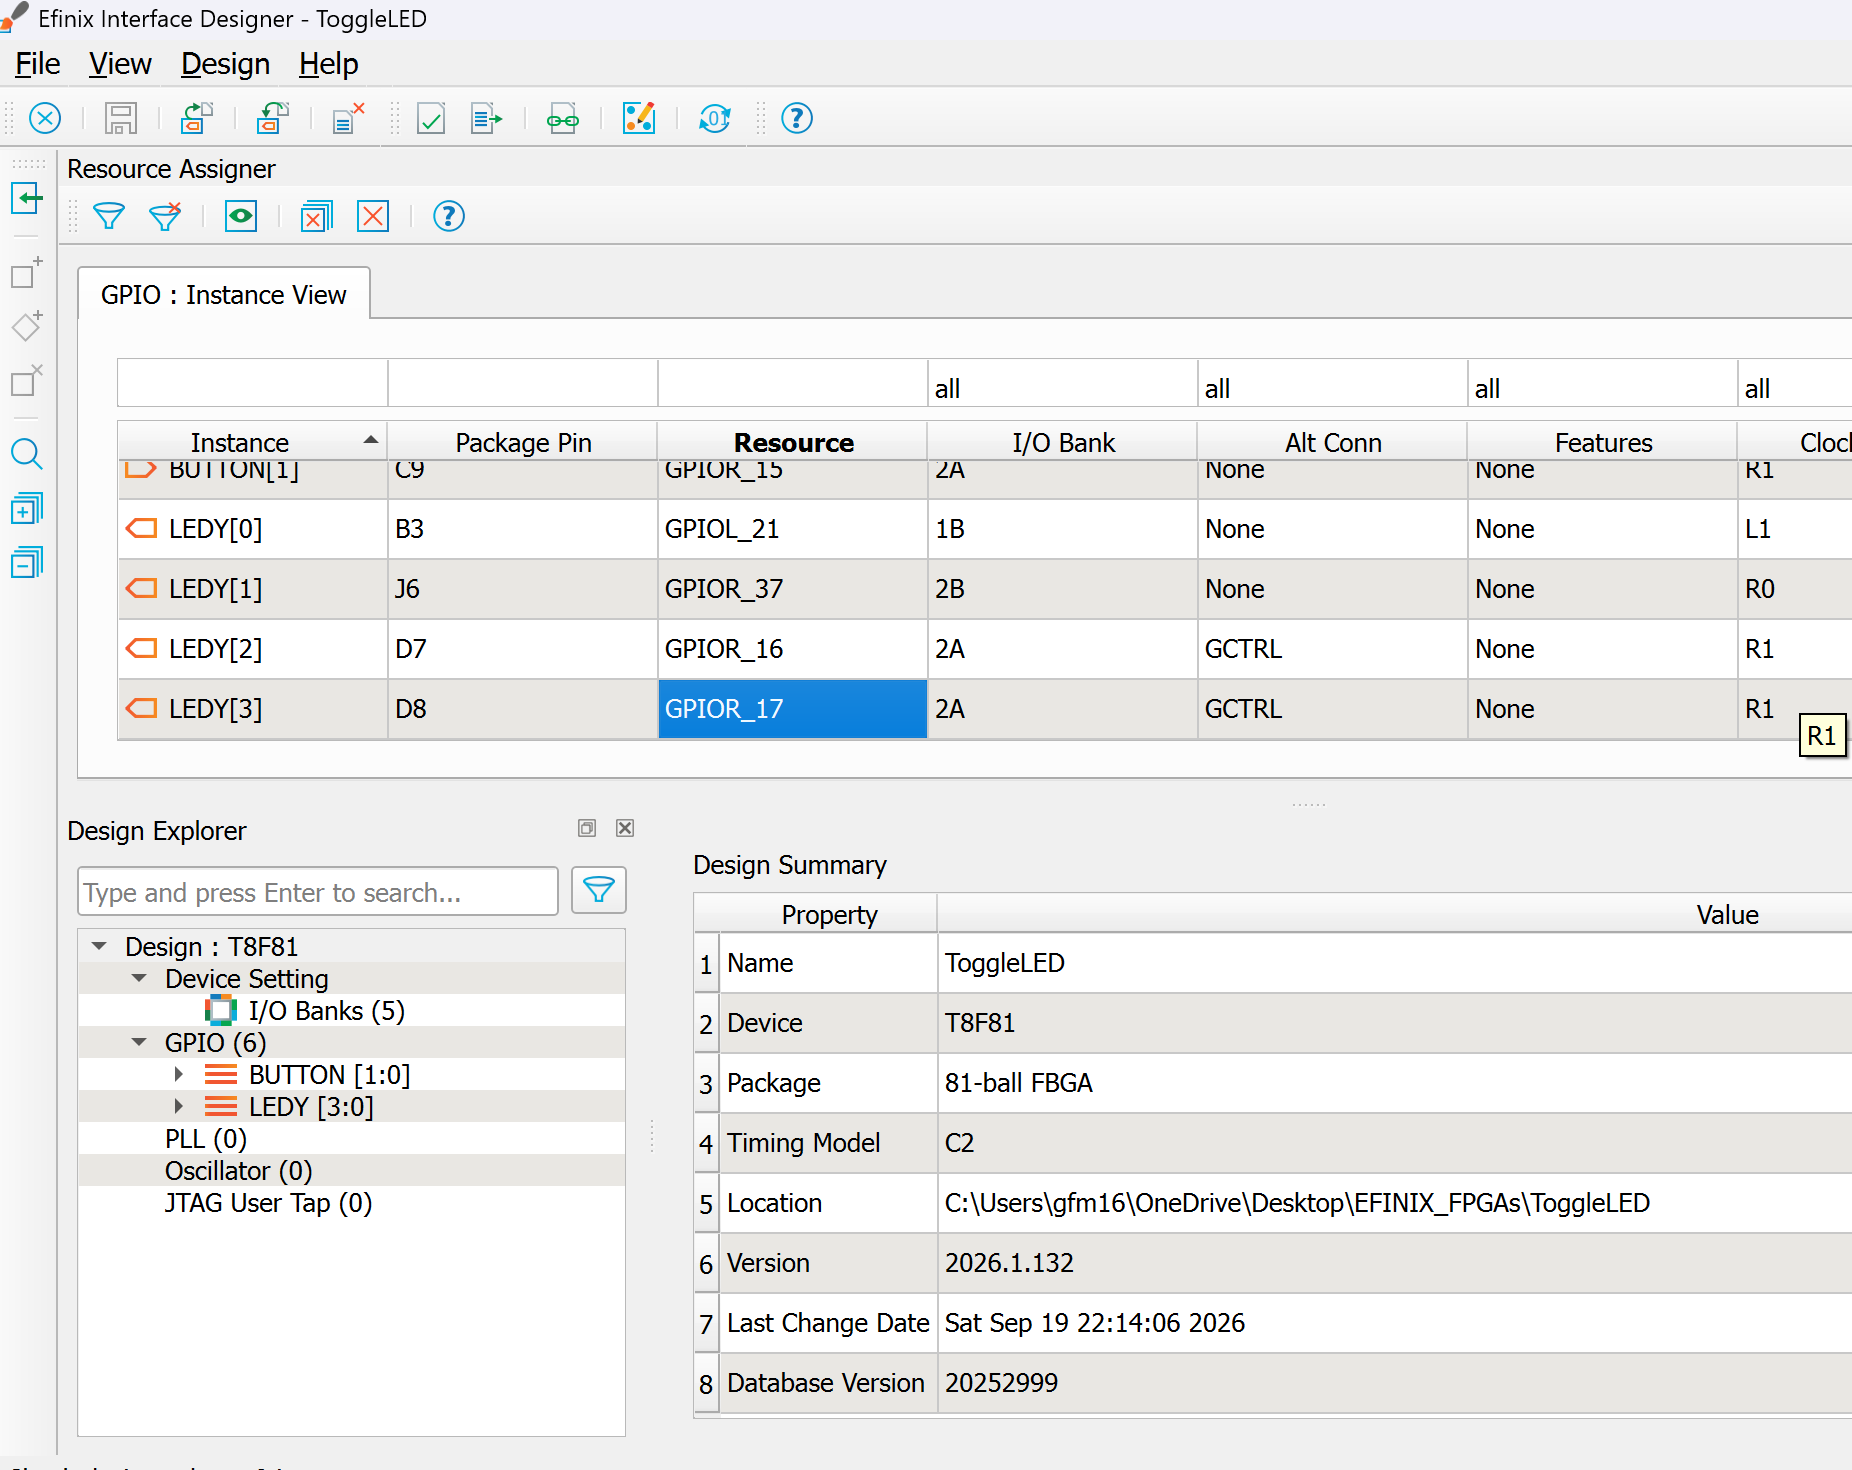
- In order for FPGA to realize the functions of the code, the ports involved in the code must be bound to the actual pins of FPGA.
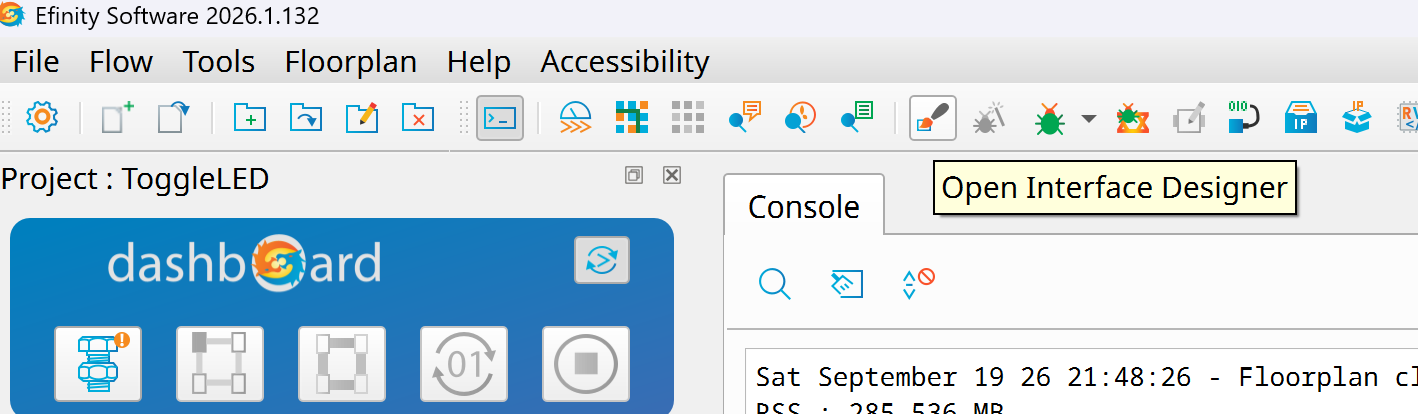
- Open the Interface Designer
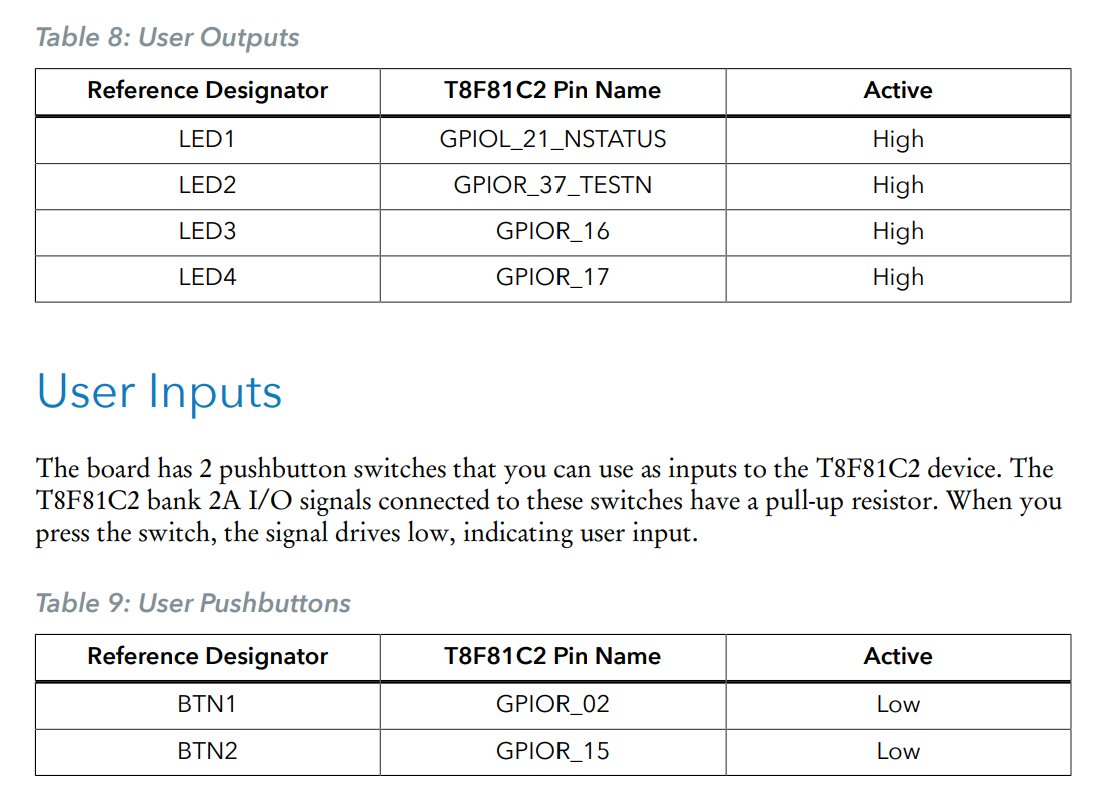
- Check the pins on the datasheet that you want to use
- And assign them under the Resource Assigner
Note
You can create an individual IO using the "Create Block" or you can create a Bus of IOs using the "Create Bus". EFINIX has a video that shows this step with more detail
Synthesis
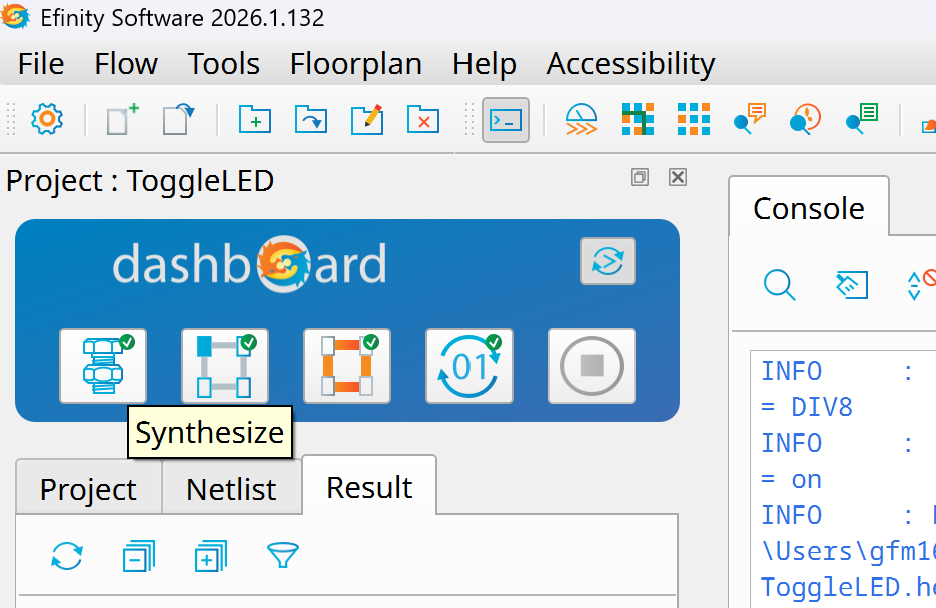
- On the dashboard press the button "Synthesize"
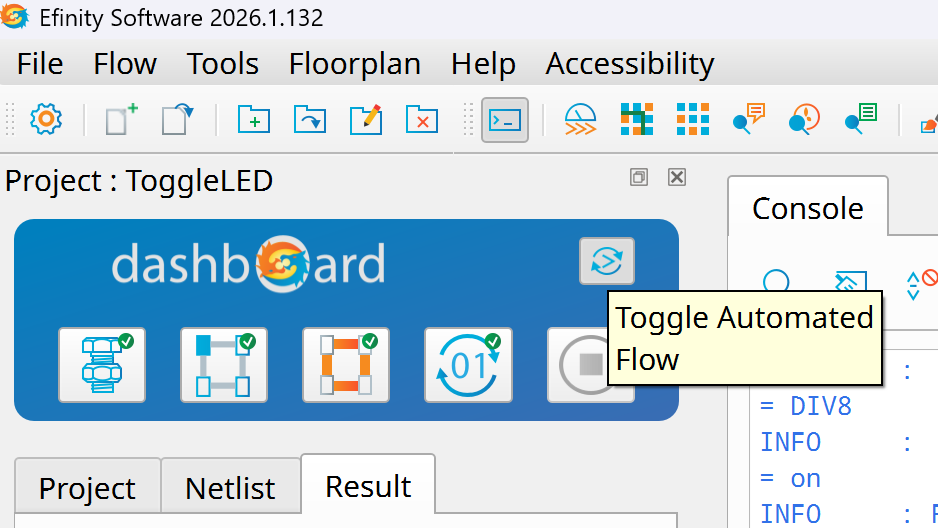
- If the button "Toggle Automated Flow" is enable, the rest of the sequence (Place --> Route --> Generate Bitstream) will happen automatically.
Download to Device
- Make sure Xyloni is connected to your computer and press the "Open Programmer" button
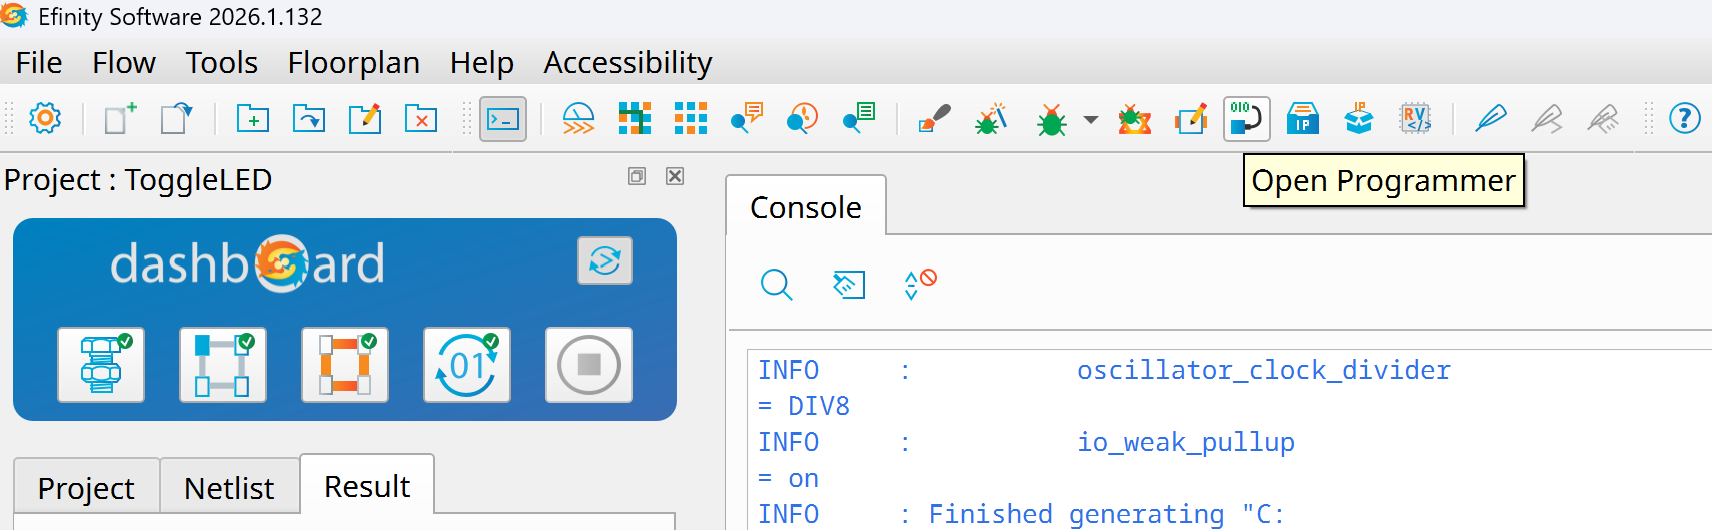
-
The programmer will detect your board automatically and it will select the .hex file to be sent to the board
-
Press "Start Program"
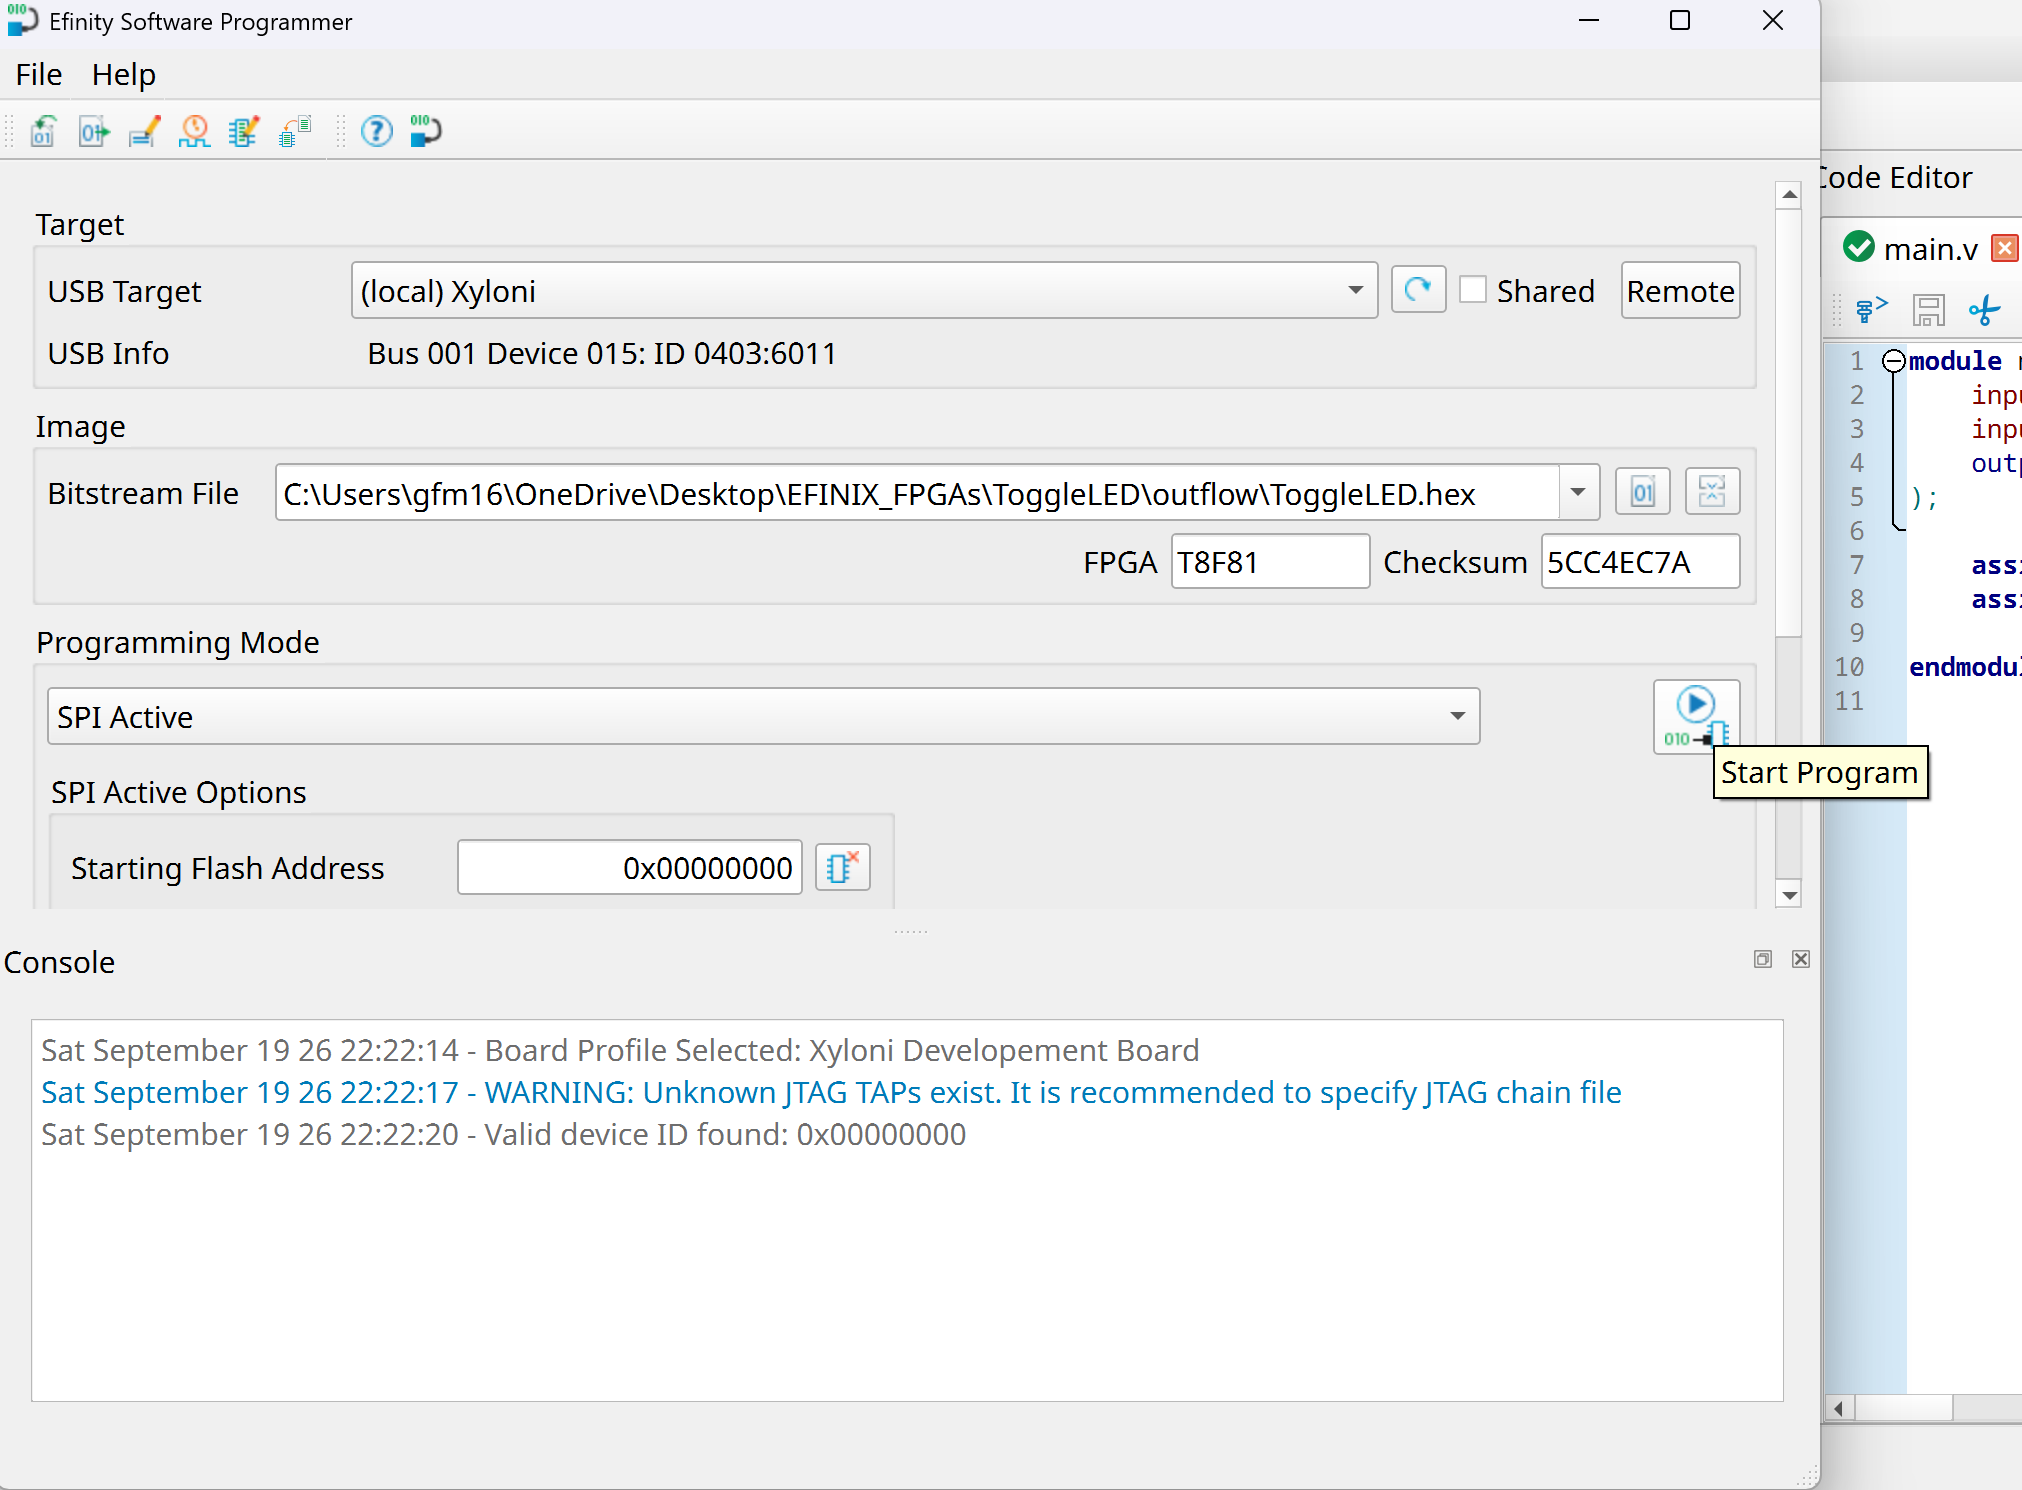
- Wait until programming operation is completed
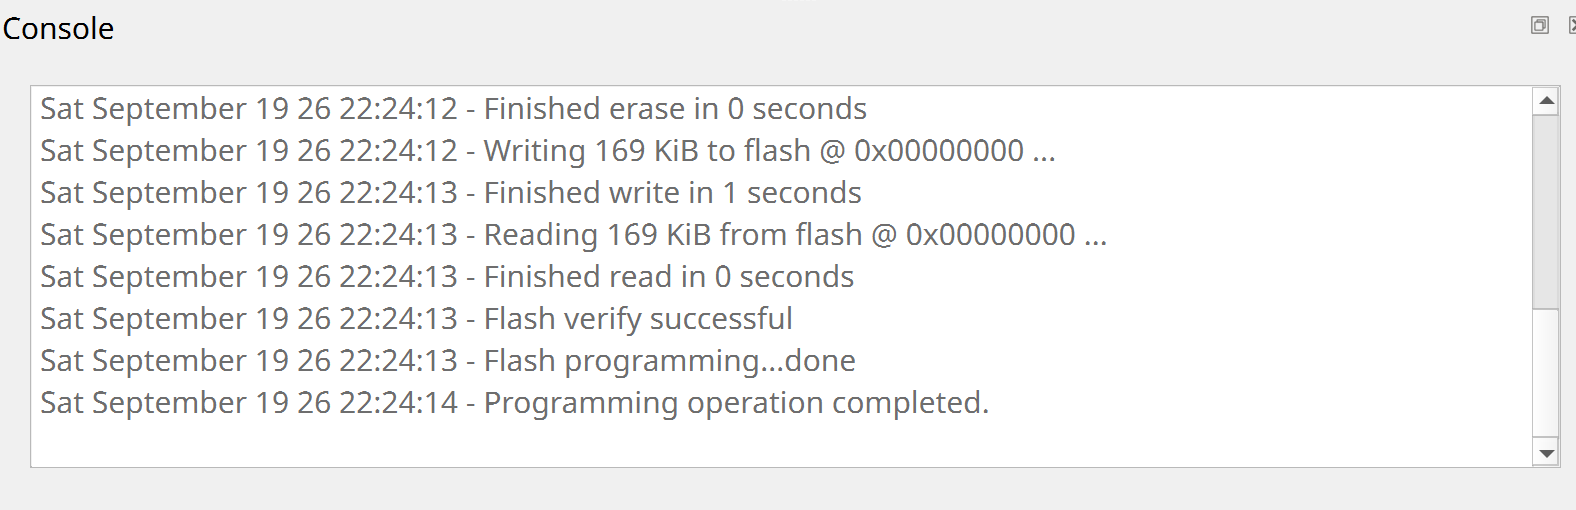
- Press the button to toggle the LED