Installation
Introduction
ElectricVLSI is free software that runs on Java, making it cross-platform. However, documentation is limited, so learning to use it requires considerable patience.
Files to Download
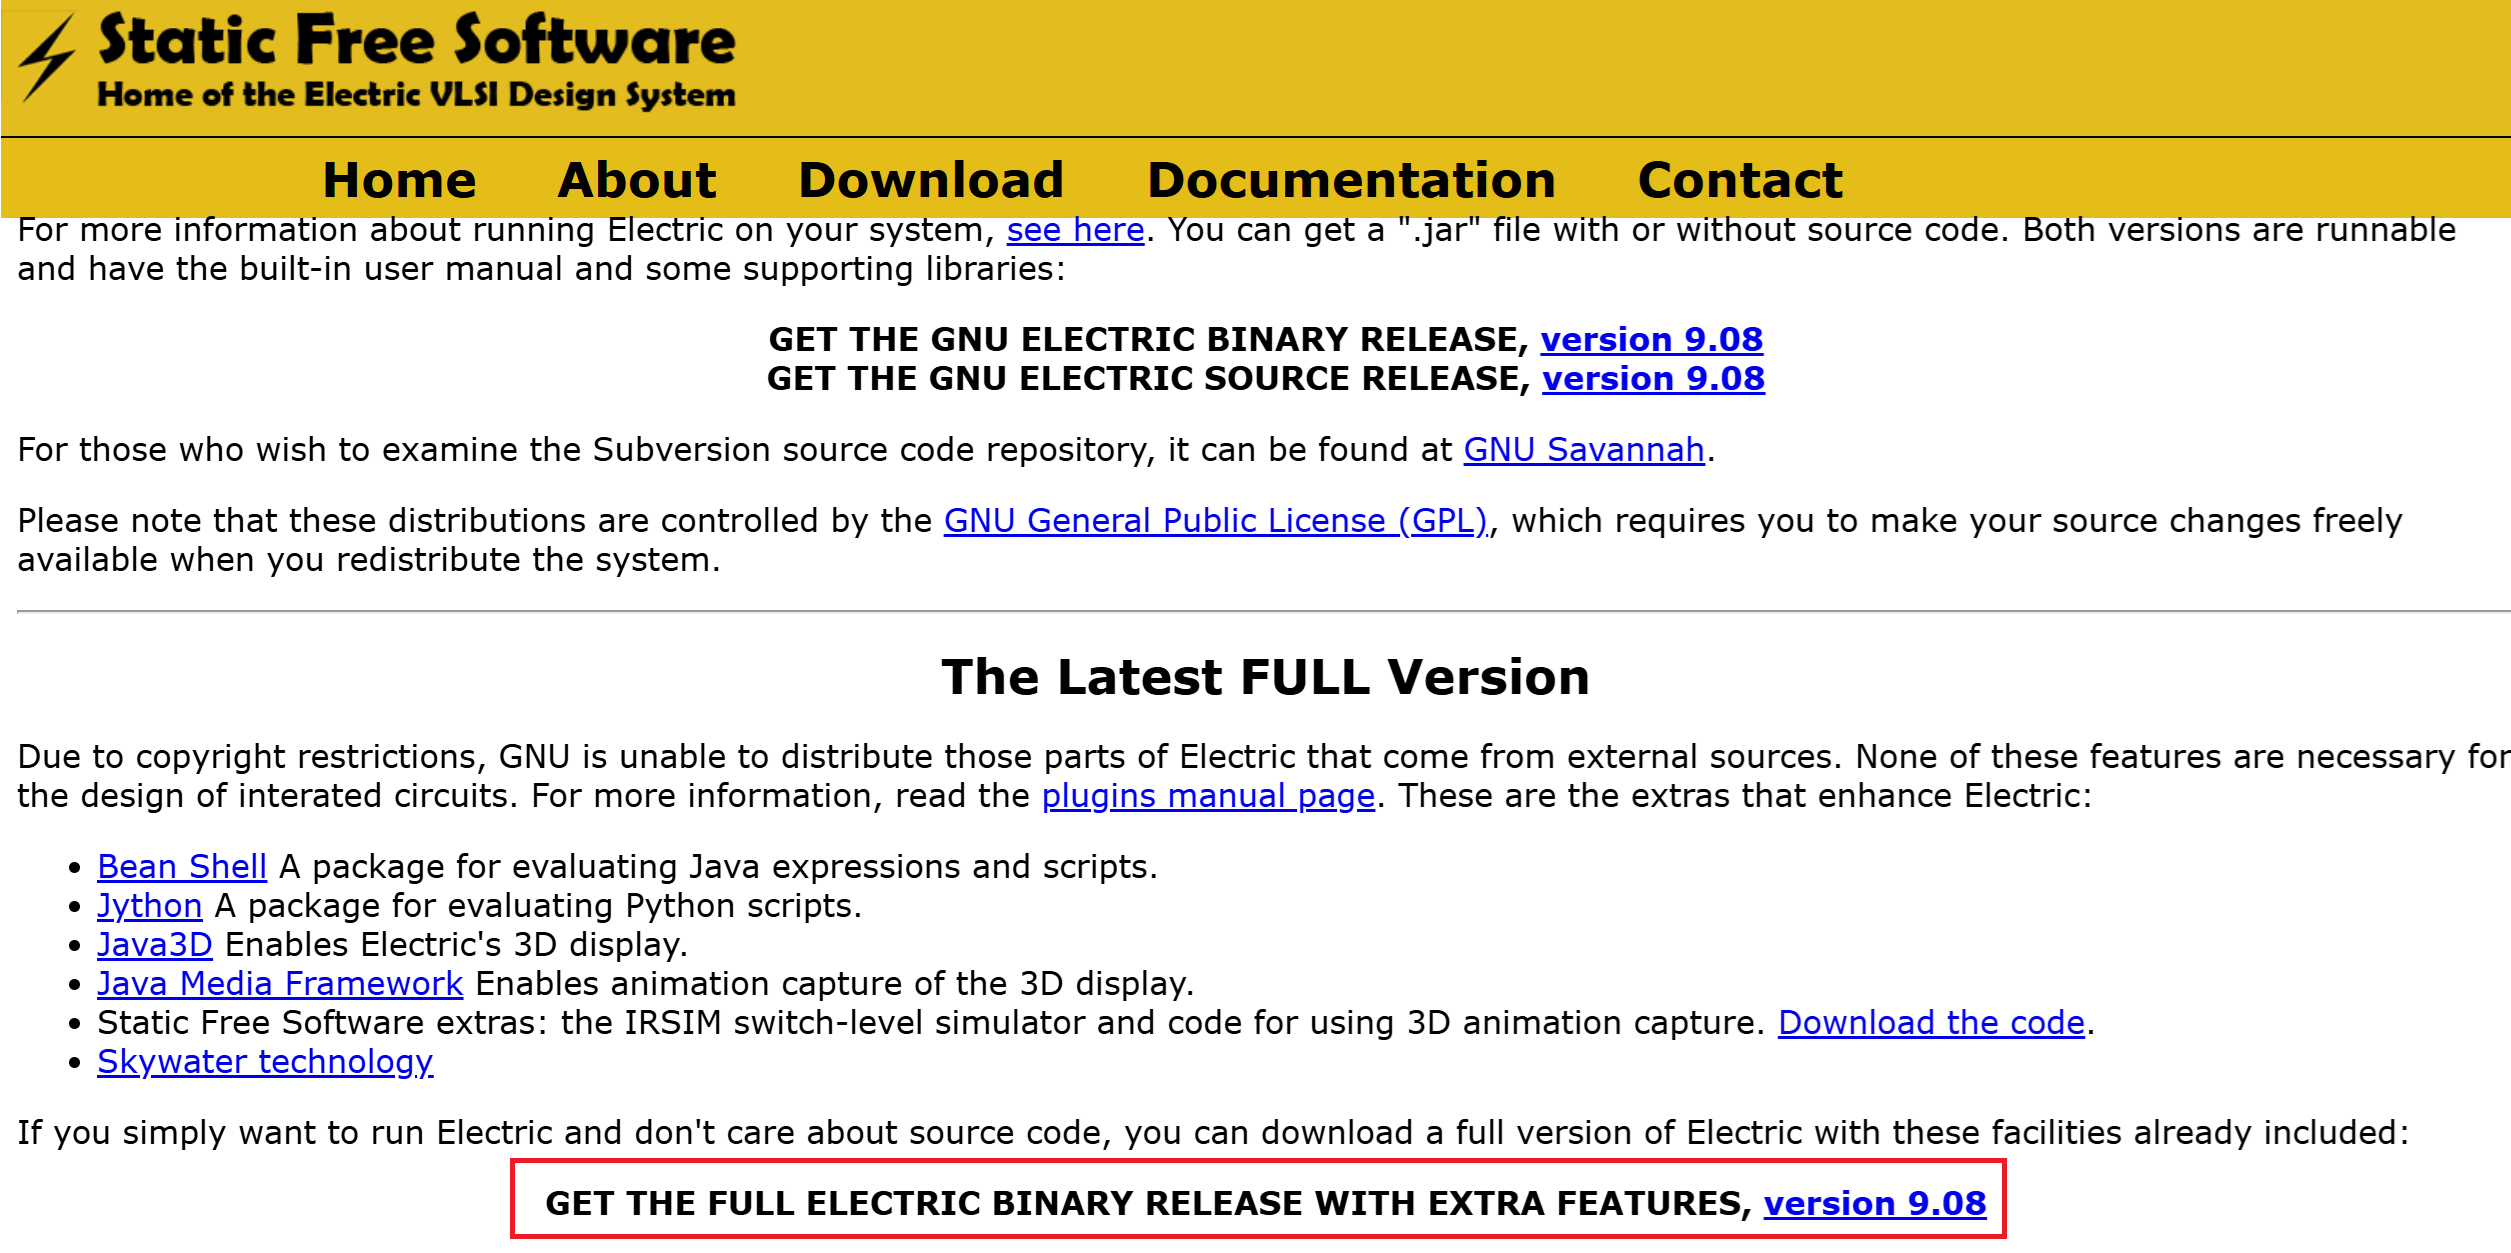
- Download Electric (Link) - Get the Full Electric Binary Release with Extra Features version 9.08
- Download and install LTSpice (Link)
Java Version
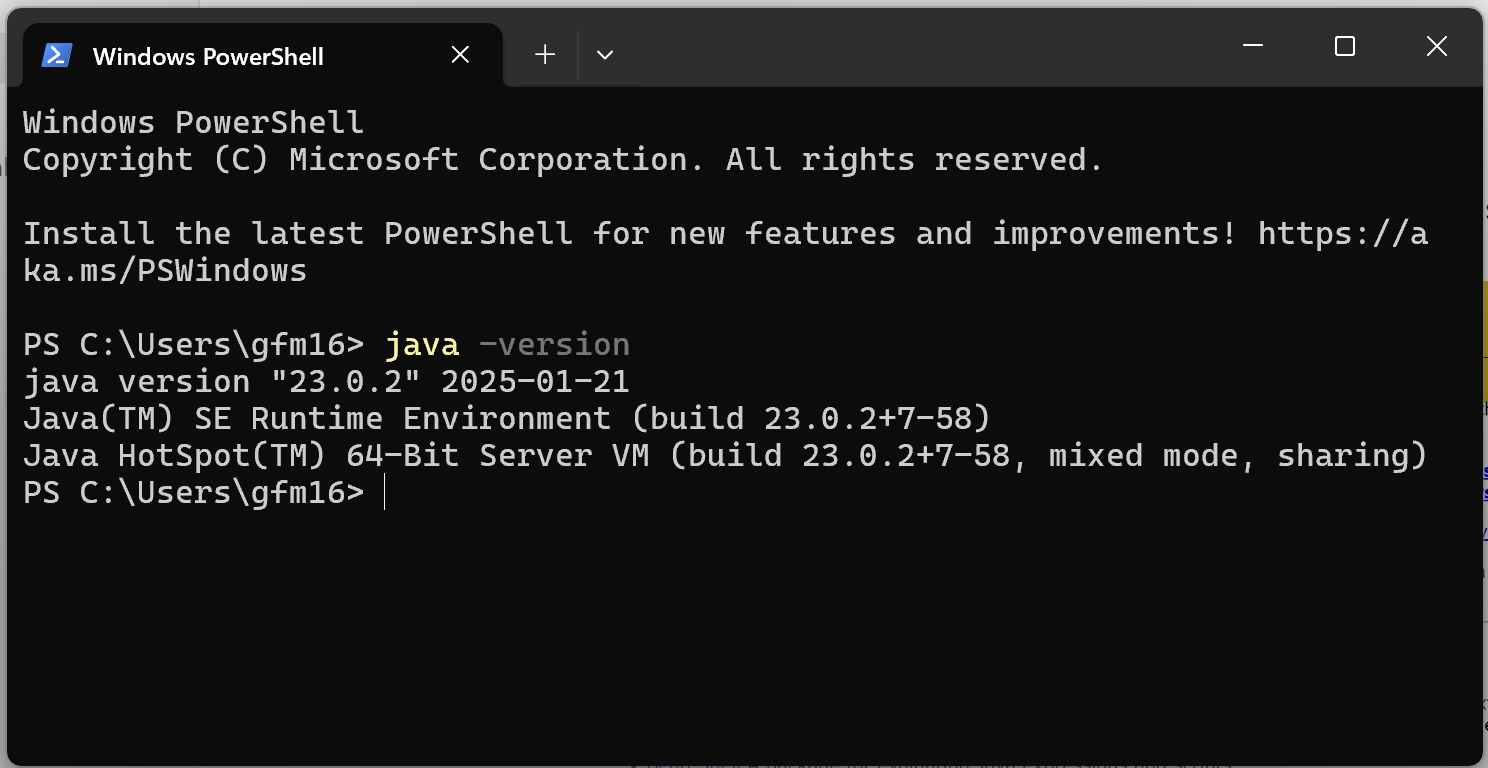
Before running ElectricVLSI, check if you have Java 17 or later installed in your computer. Open a terminal or command window and check if you have Java installed and the correct version.
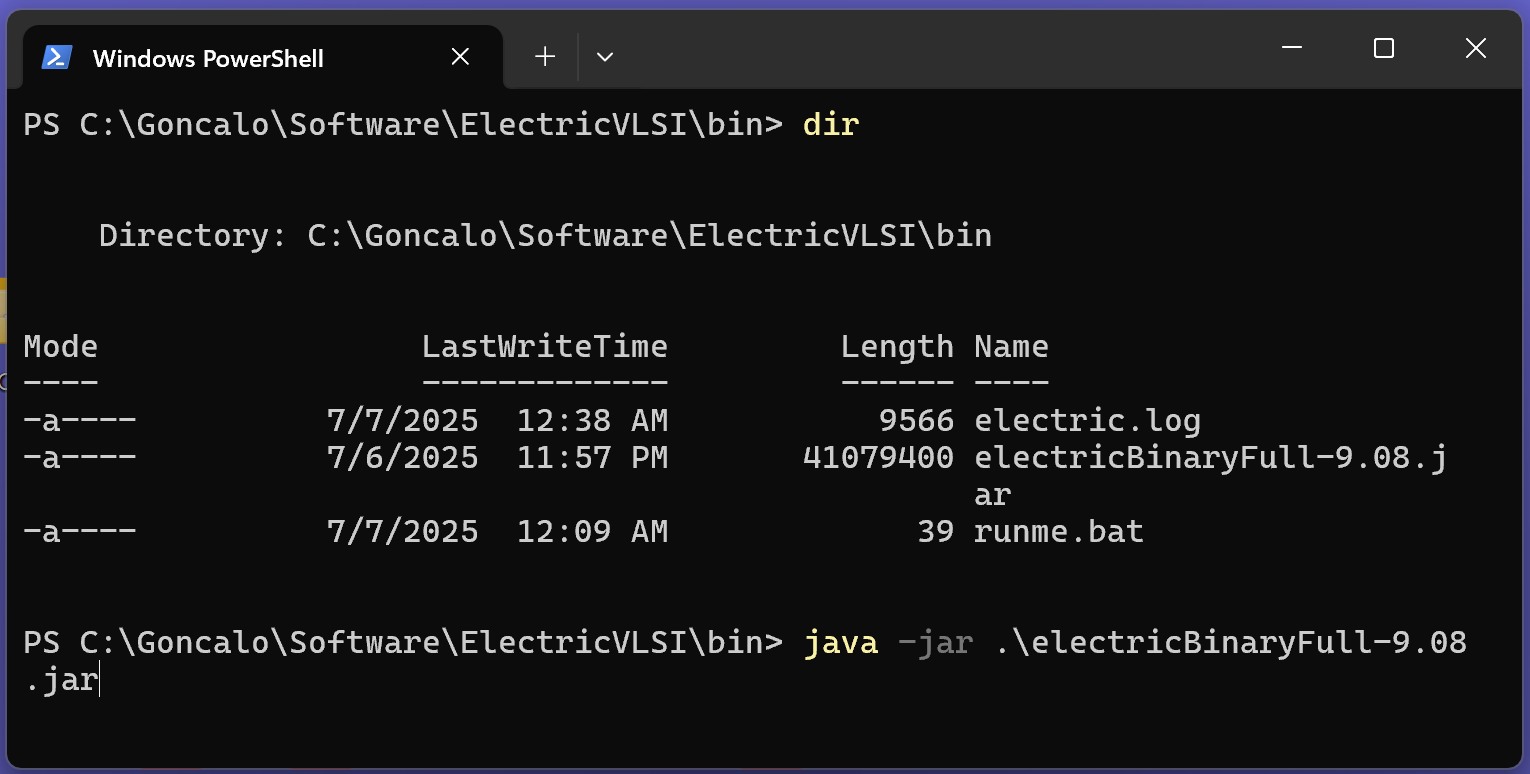
To run ElectricVLSI, if double clicking on the .jar file doesn't open the program, open a terminal and run the following command:
Enable LTSpice Plugin
Go to "File -> Preferences" and set the Spice/CDL as below.
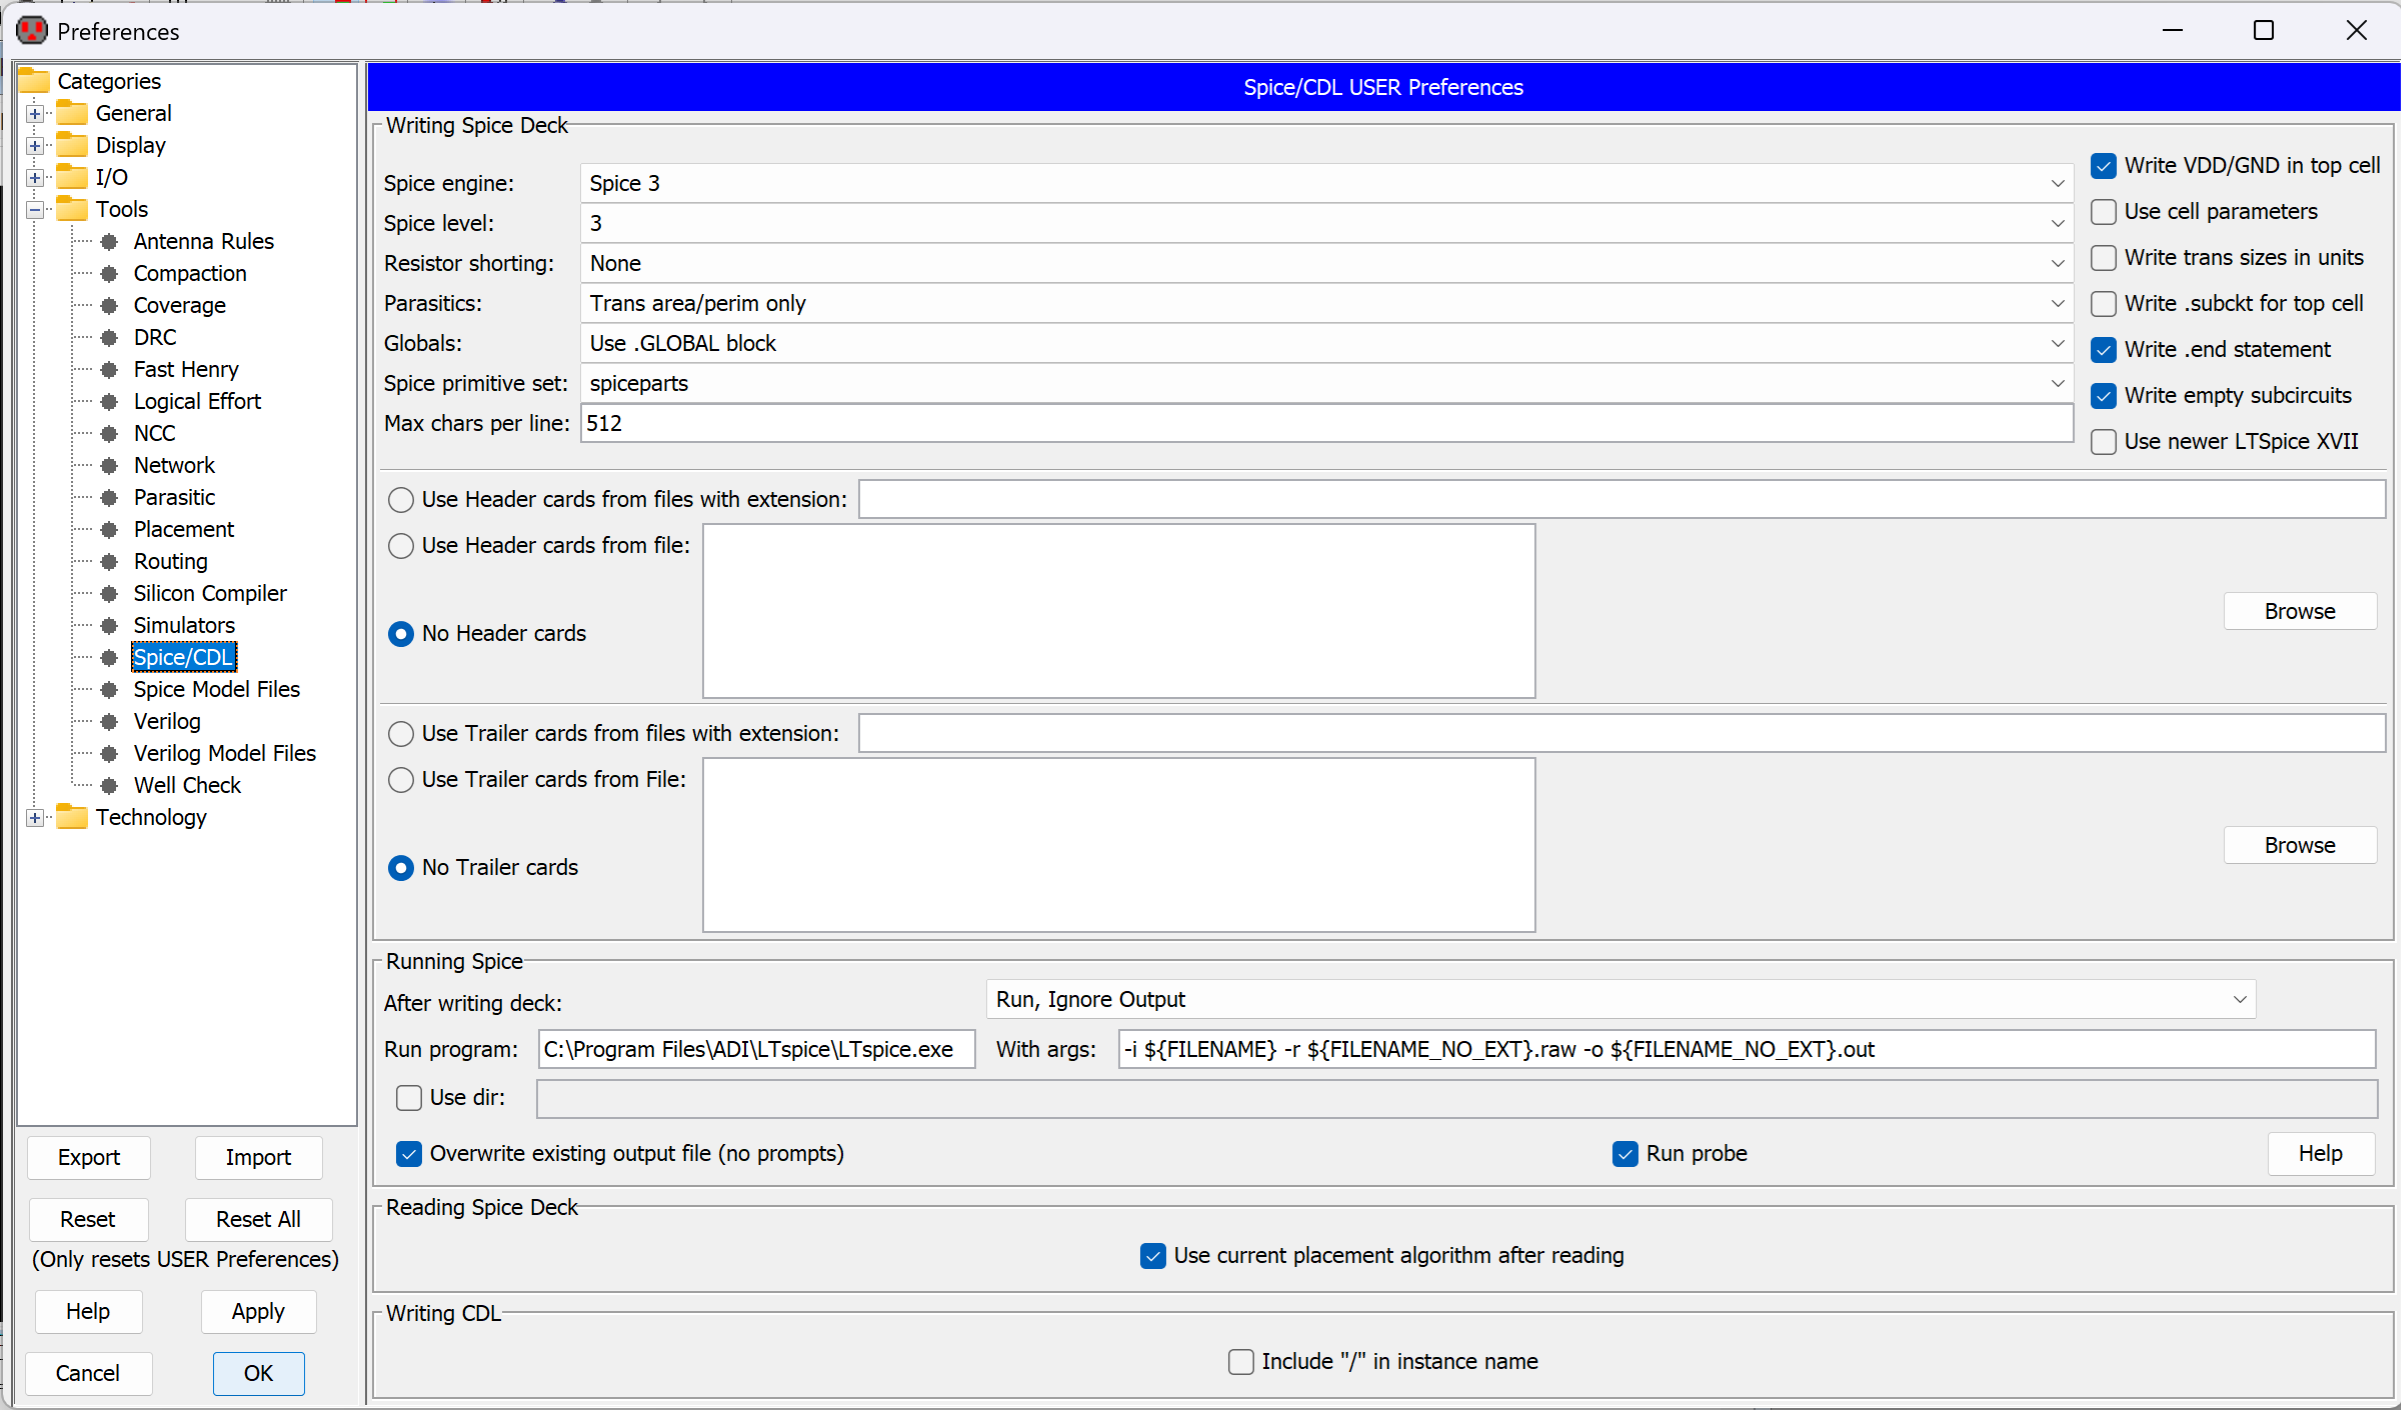
- For the Run program path, make sure that you put the path for your LTSpice installation.
Test Run
You have two options: you can either download the "Test_Run" project from GitHub and test it to ensure everything works correctly, or create the project from scratch.
If you decide to create the project from scratch, follow the following steps:
- You should have ElectricVLSI up and running at this point
- Create a folder called "Test_Run".
- Go to ElectricVLSI and create a new cell
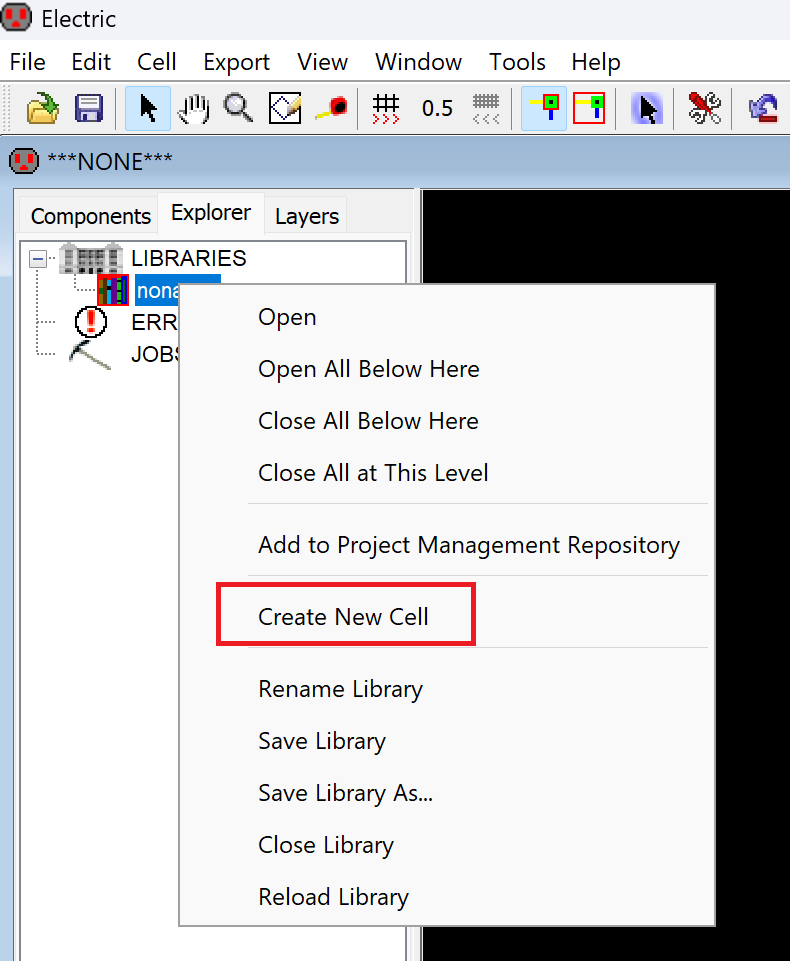
- Select schematic and call it "voltage_divider"

- At this point you can save the project under the "Test_Run" folder with whatever name you like.
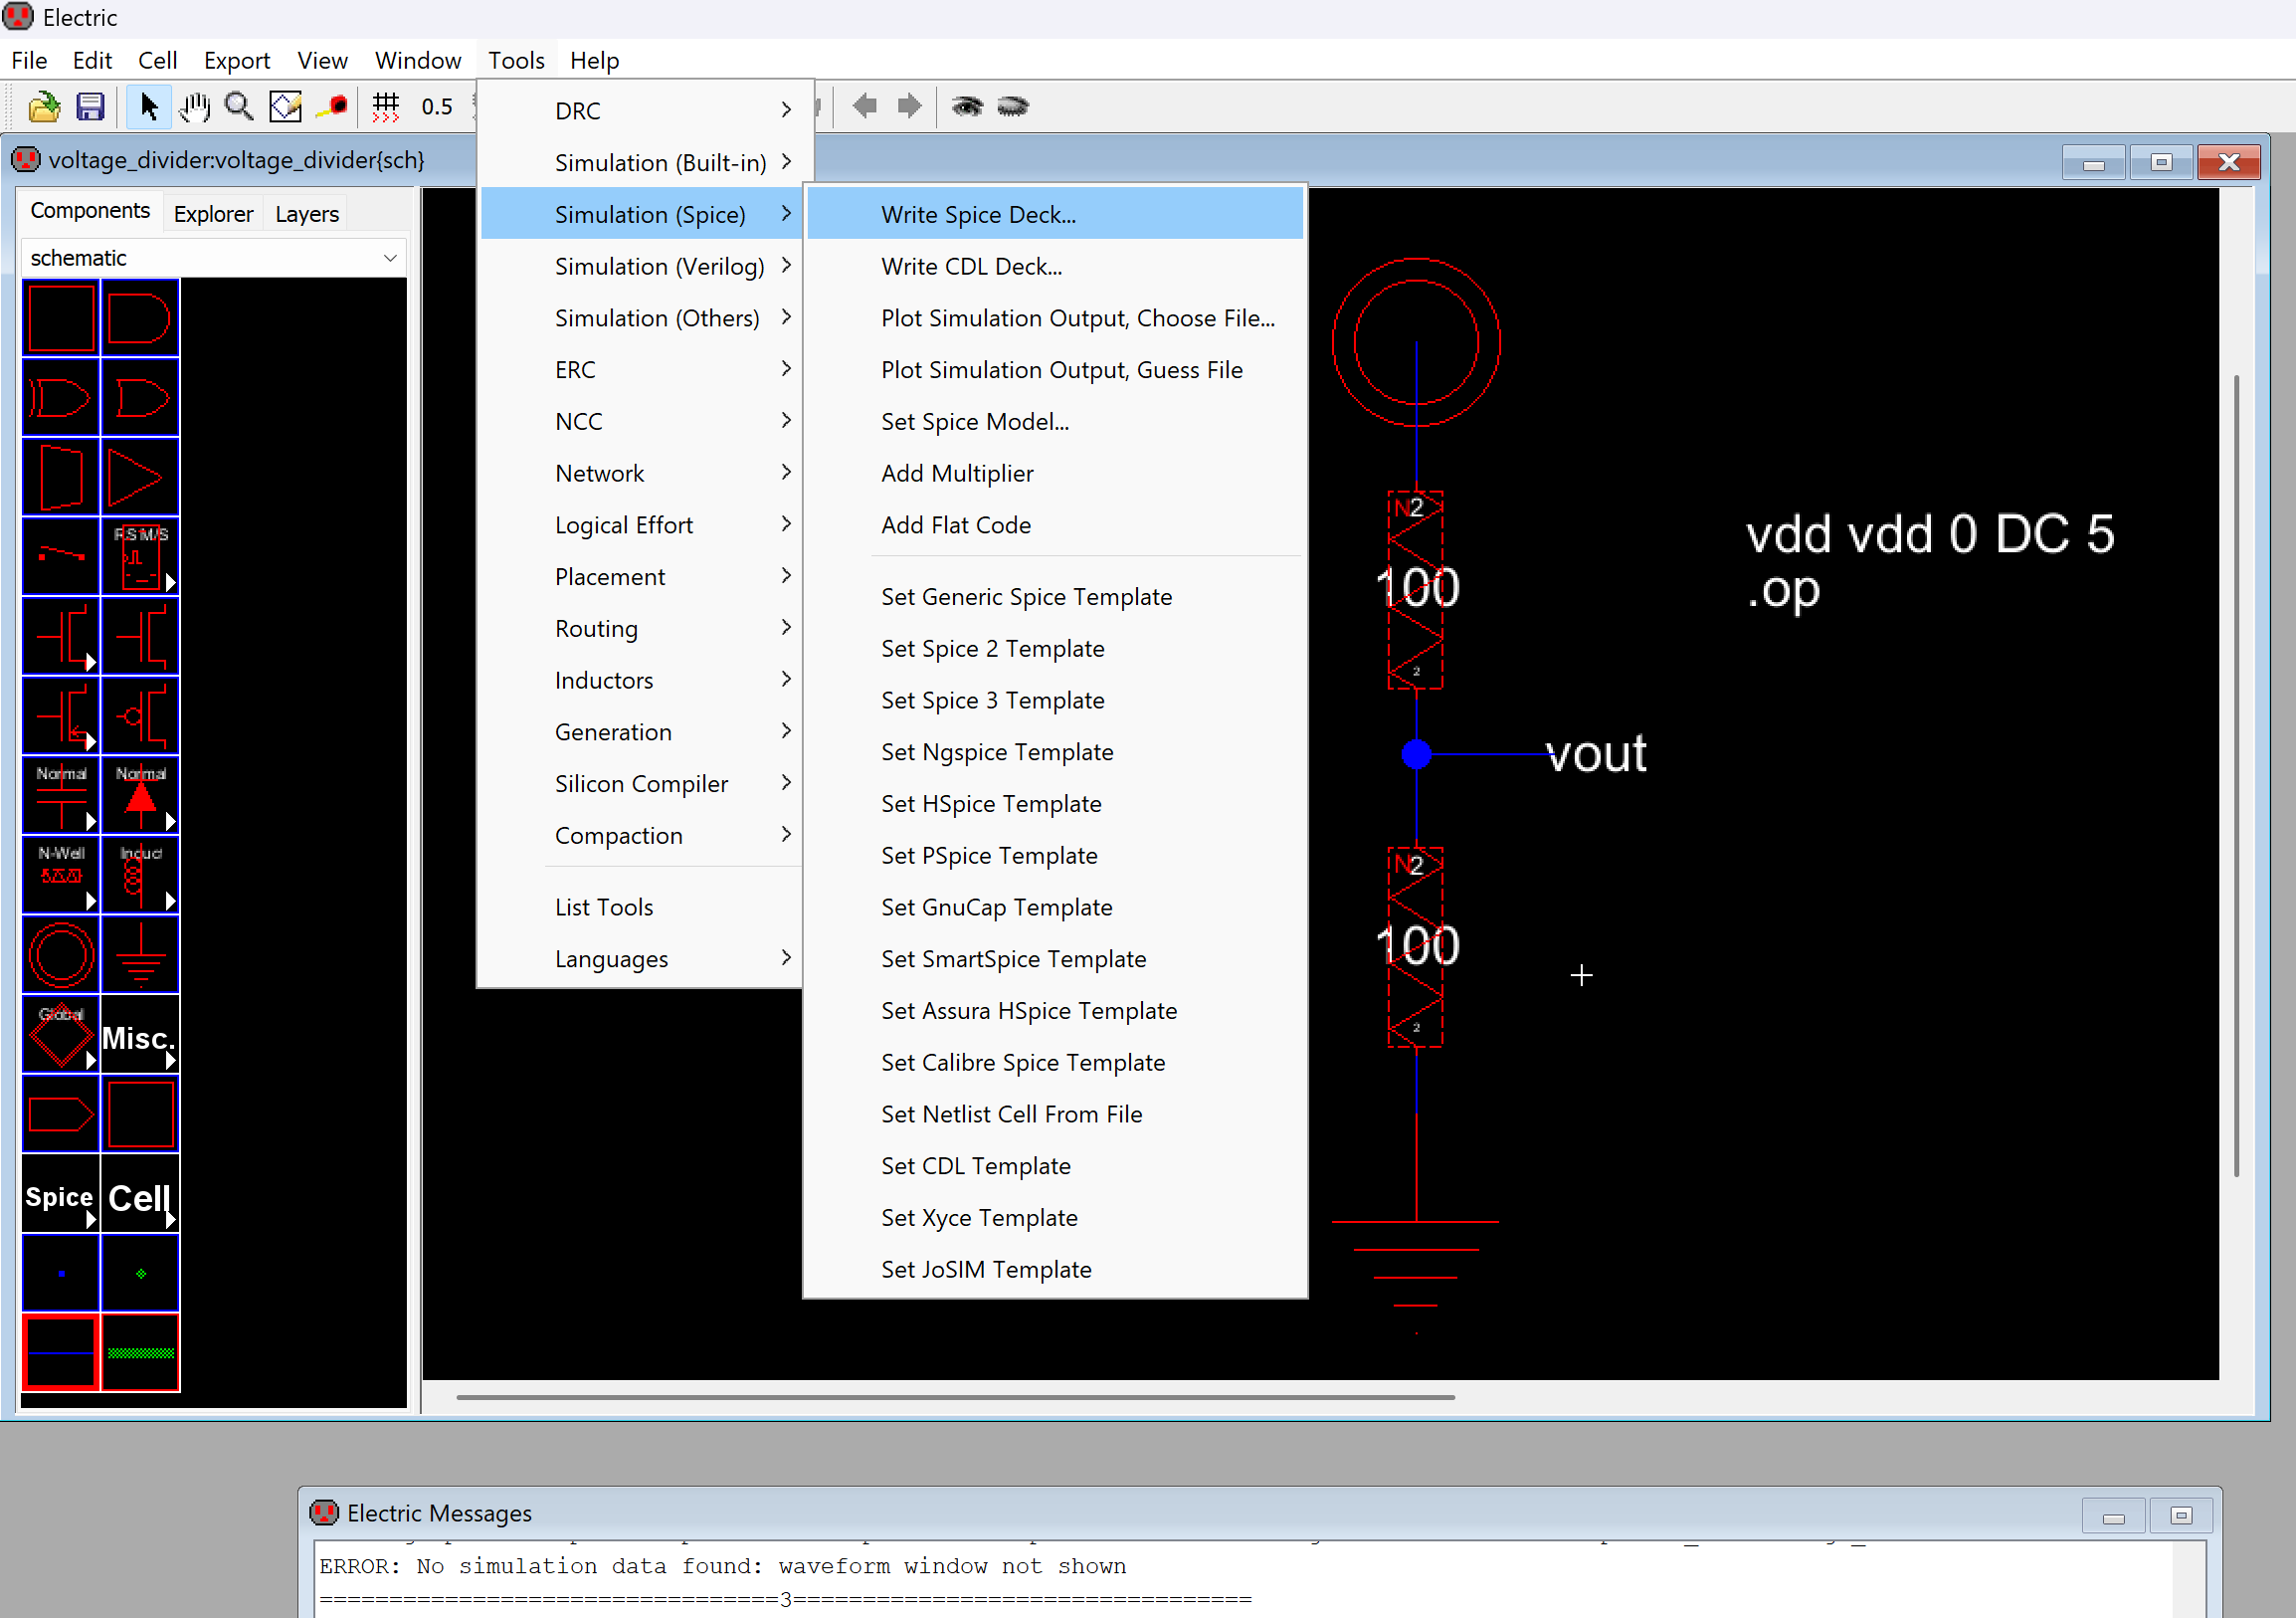
- Create a voltage divider and write the spice code to apply 5V at Vdd and check the output voltage between the resistors.
Note
I will try to create a video that explains how to select the components to create the voltage divider. For now, you can follow this link
Note
If you get an error that prevents you to start the simulation, try to close and open ElectricVLSI, and open your project. That is usually sufficient to solve the issue.
- LTSpice output
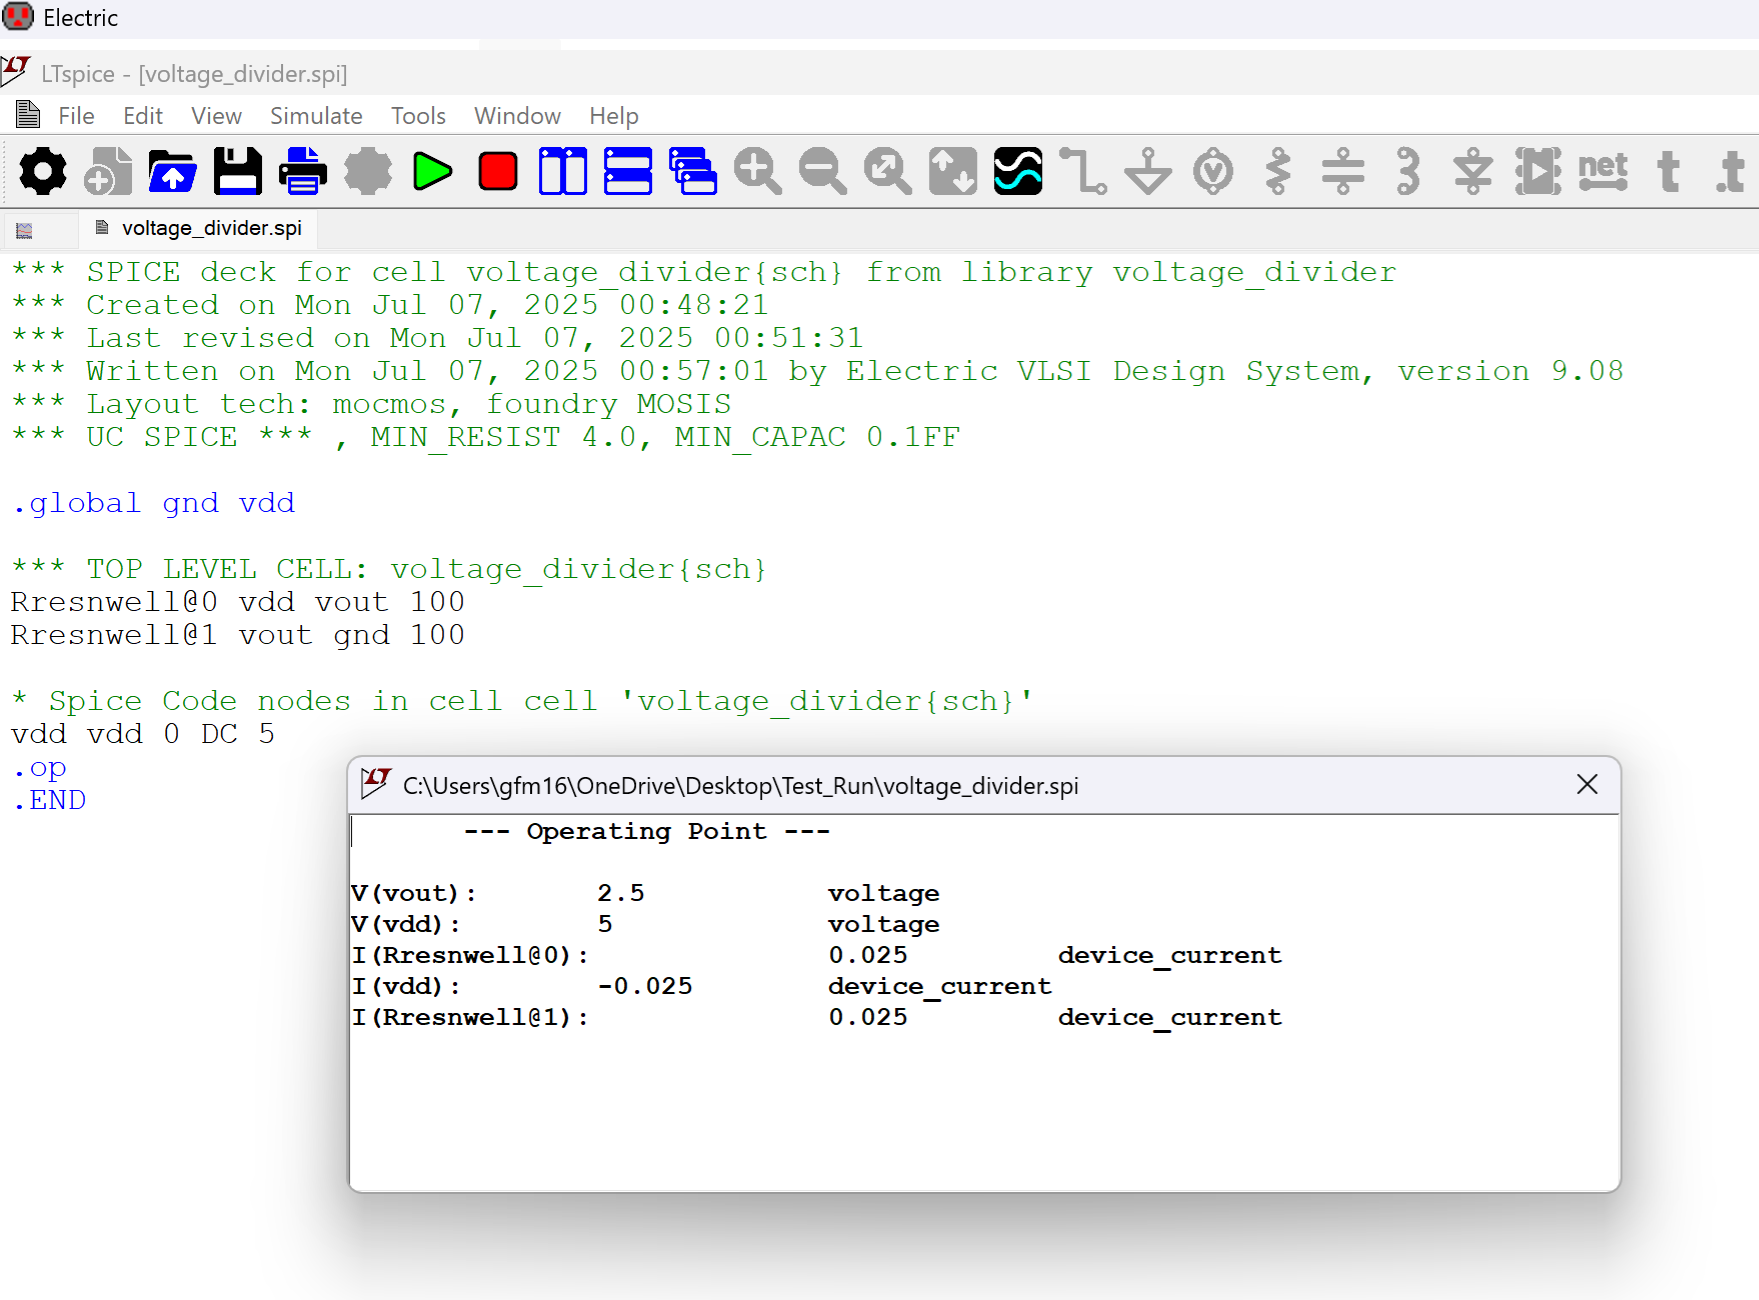
If this works, we are all set and ready to start using the tool.
GitHub
Test_Run Project
References
- "Electric VLSI Tutorials from CMOSedu.com" - Articles and Videos